
Retouching & Editing a Child's Portrait | Bath Children's Photographer
Have you ever wondered how we edit portraits?
Editing and retouching photographs is probably the most time-consuming part of the whole process! It's also one of the most rewarding, and it can also be one of the most creative aspects. Have a look at the before/after image below and I'll talk you through everything we do to produce the fine art look that has become our signature style. It's worth stating from the outset that we do as little Photoshopping as possible to get the effect we're looking for - it's pretty grim to see photographs that have been 'overcooked', especially pictures of children.
Move the slider below back and forth to see the before and after versions of this image.
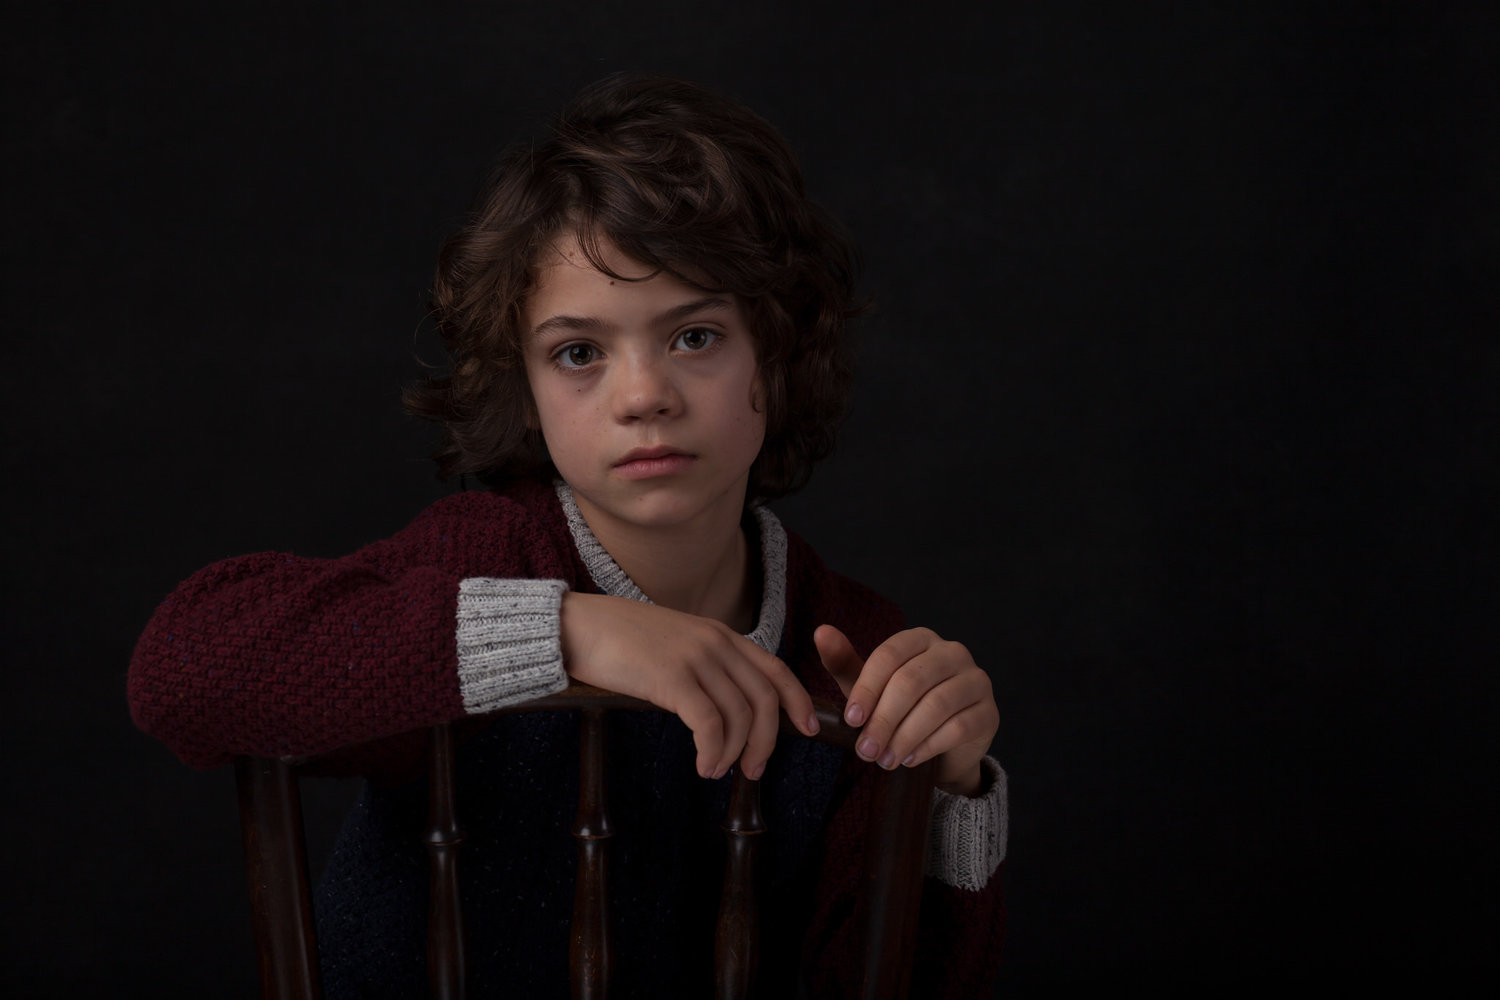
Fixing exposure issues
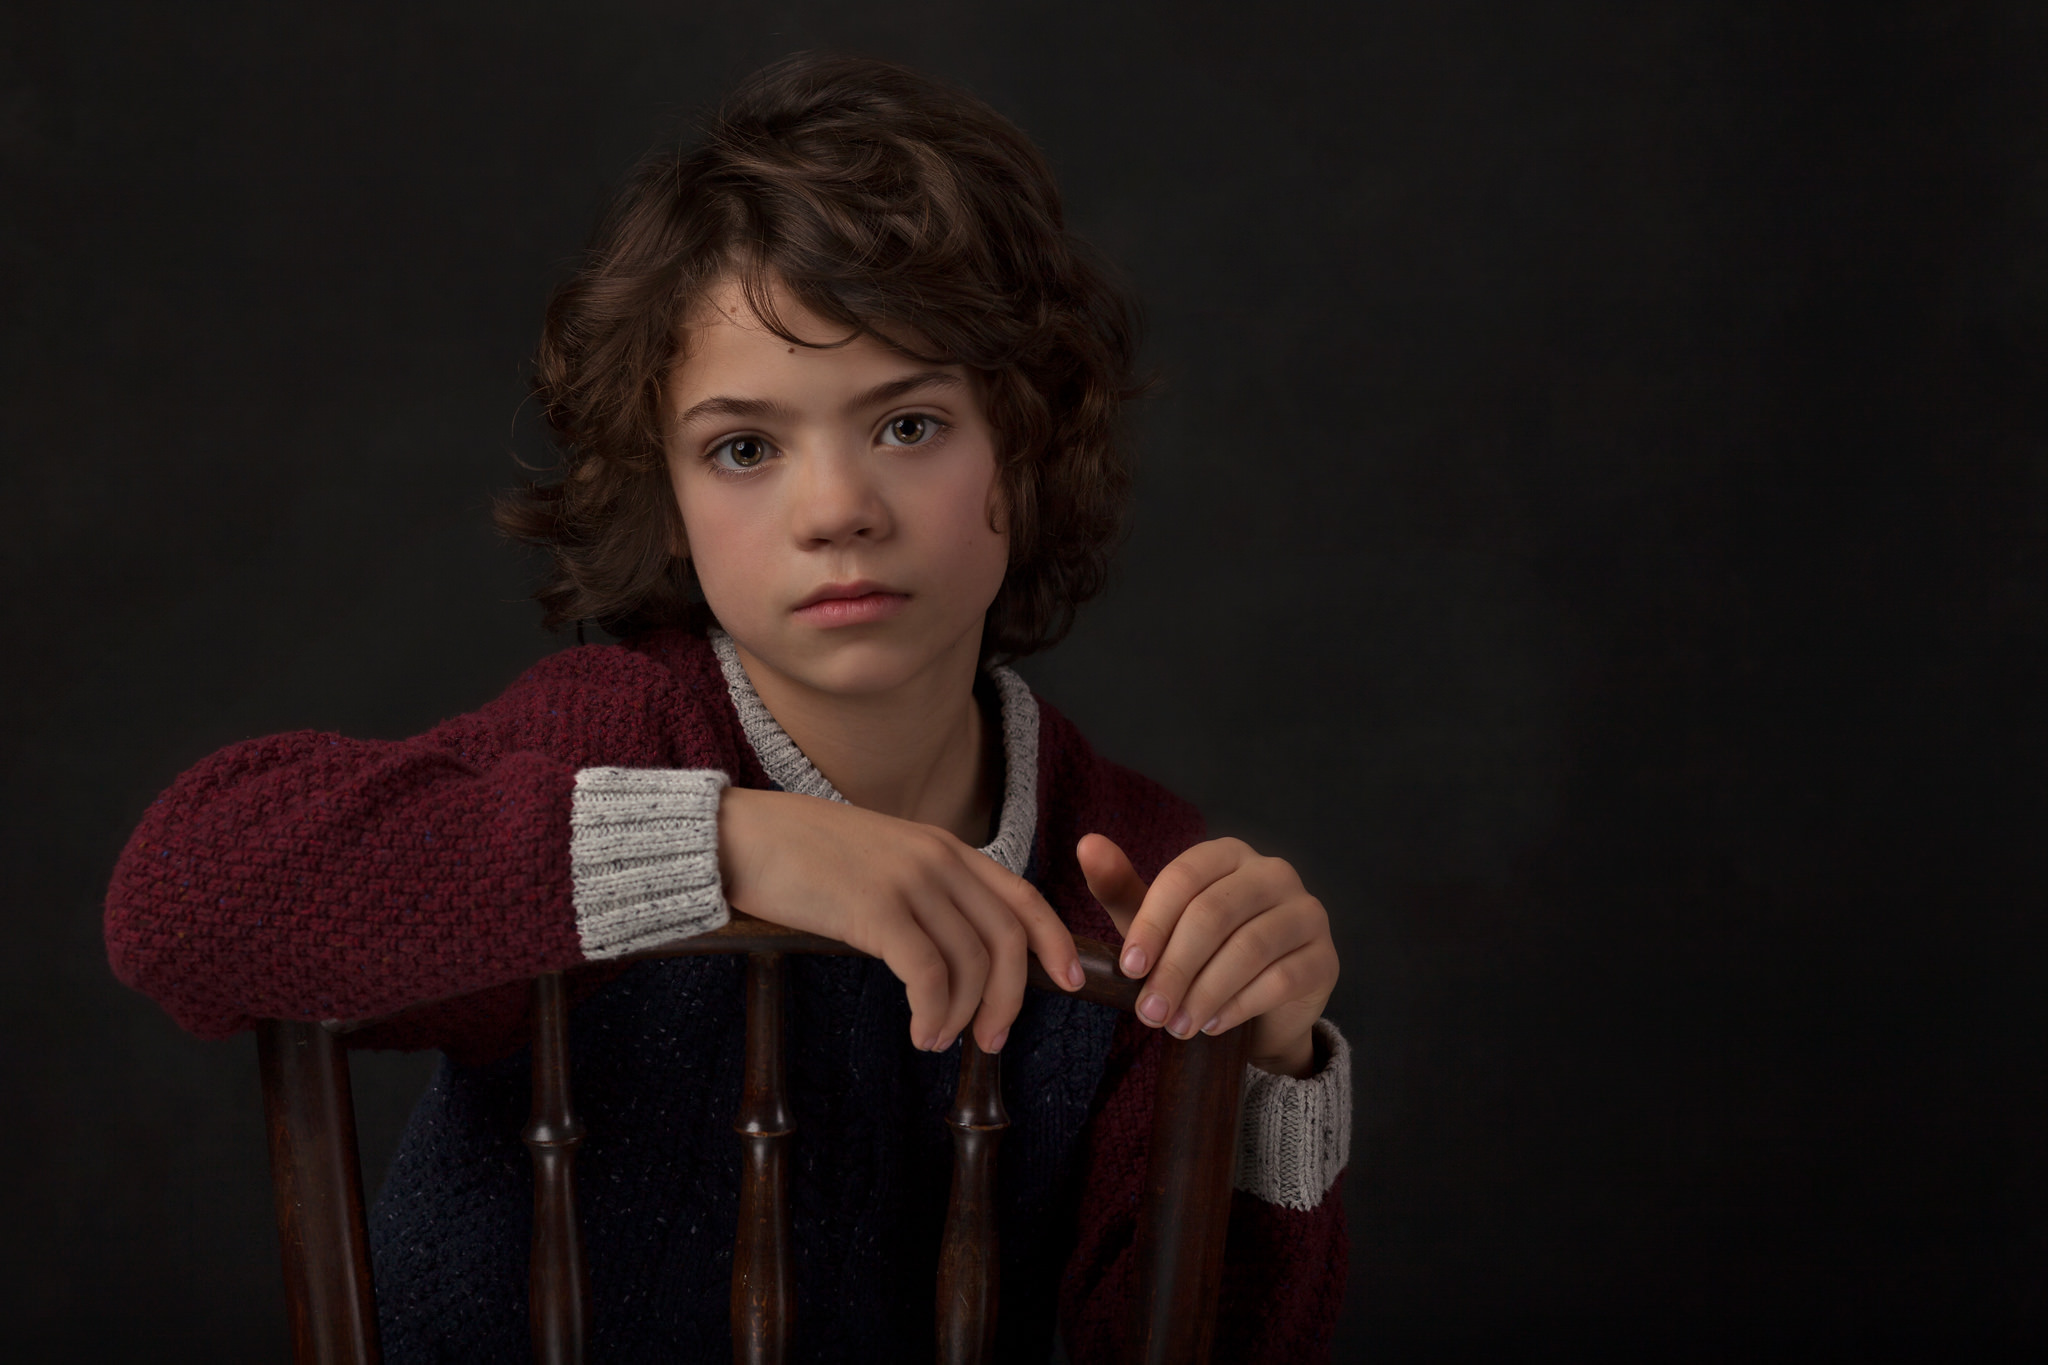
The first thing you'll notice about the before image is that it is very dark. The fine art portraits are mostly shot using just one light - the large strobe is shone across the subject rather than straight at them, giving a soft and gentle light quality. We shoot the studio session quite underexposed, which avoids the 'hot' studio look that is a feature of other types of photography. We can brighten up the exposure in Photoshop to make the image look more natural and restore detail to the shadows.
Removing stray hairs
Any hair that covers the eyes or that just gets in the way can be removed. We use a tool in Photoshop that acts like an eraser.
Blemish reduction
If people have spots, scars, blackheads or anything temporary that they'd rather not appear in the final image, we remove them. We do not take out anything that people were born with (moles, birthmarks, beauty spots etc.) unless we are asked to do so!
Under-eye treatment
If you look in the mirror and give your under-eye area some scrutiny, you'll probably notice that it doesn't look as great as the rest of your face! This is probably true for 99% of people over the age of about two. When women are photographed this will often be dealt with by makeup, but not always, and men & boys almost always need some work in this area. In the before image the under-eye area has a purple/red tone and some obvious eye bags. These are dealt with by cloning the area around them and blending this into the under-eye area.
Brightening irises
Because the image was shot underexposed, we brighten the eye's irises a little bit to bring back some sparkle.
Skin smoothing
This is done very, very gently. The lenses we use for portrait photography are incredibly sharp and accurate, rendering people's faces with a greater perceived sense of detail. This is great from the point of view of reproducing detail, but often people prefer the level of scrutiny the lenses highlight, to be less! Skin smoothing does what it says - it reduces lines, bumps and wrinkles. We always take care to use it naturally because no-one wants photographs where their skin looks like a mannequin's.
Hair highlighting
This is to put a little bit of light into the hair, mostly because the pictures are shot quite dark.
Cropping
This fixes the way the image is centred.
Colour grading
For fine art images we use a colour grading tool that emulates the look of film.
Sharpening
The final part of the process - this adds a final bit of detail and sparkle to your image.